


- SPU: AL-Y5QQ-l2vhbmc[2]
- Material: Transparent frosted self-adhesive
- Custom processing: Yes
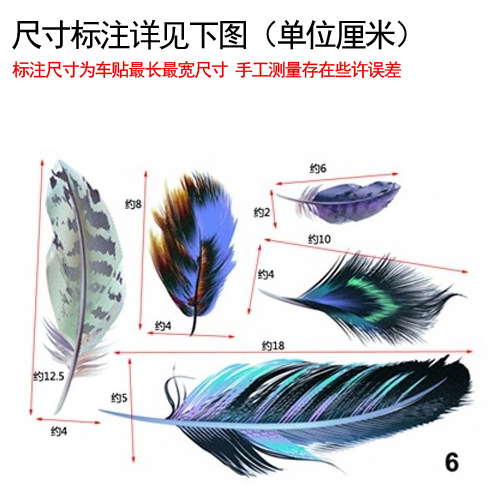
- Style: 6 styles
- Adhesion: strong
- Applicable place: car body
- Pattern: Feather
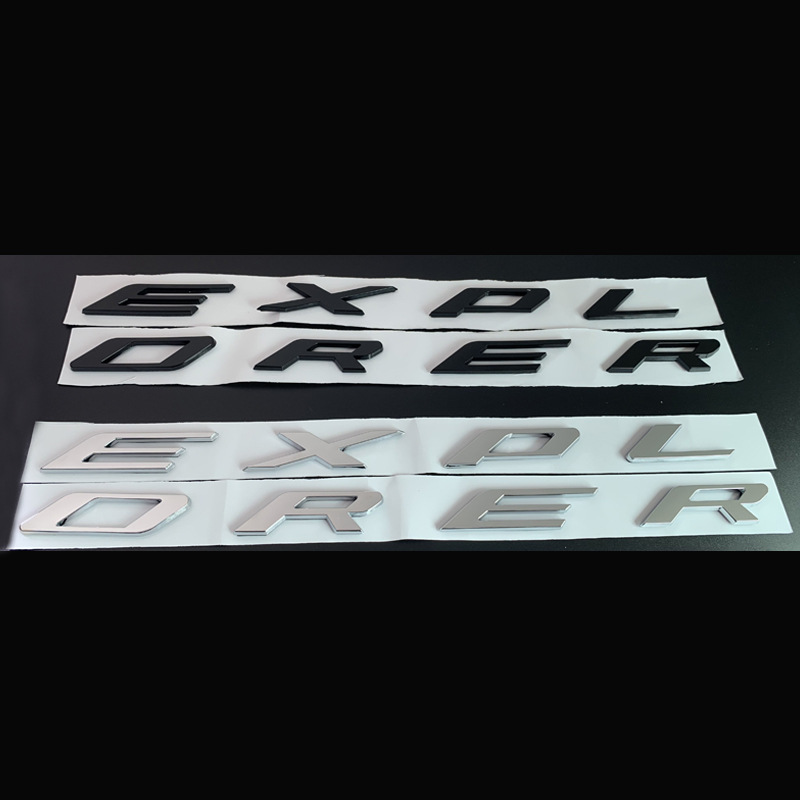
- Type:3D
- Color number: four colors
- Series: scratch stickers
- Width: as shown
- Product category: car stickers
[ installation method]
Just paste it directly on the suitable car body.! Wipe the installation point clean with alcohol, tear off the tape on the back of the logo, use a hair dryer to heat the double-sided tape, install it at the location to be pasted, and press it firmly. The pasting effect is very strong. It will not damage your car. .
[ Cleanup method]
Gently scrape up the edge of the sticker with your fingernails, and then peel it off completely. It will not leave any marks or damage the car paint. If it is cold in winter and you cannot lift the corners, you can use a hair dryer to properly heat the tape to melt the glue. It can be easily removed after it becomes soft. If there is any adhesive residue, you can use adhesive remover or universal foam remover to clean it.
1. Installation method of small car stickers( Dry pasting method):
1. Clean the car body and keep it dry.
2. Determine the location where you need to stick it. Generally, you can stick it slowly while scraping it flat with a tool, and peel off the backing paper at the same time.
3. If the graphics are really not big, you can also tear off all the transparent transfer film and stickers before pasting them on again. But you must be careful not to accidentally stick them.
4. After pasting, scrape and press it several times. Peel off the transparent transfer film.
5. Use a utility knife to make a cut on the car door and seam, and wrap it inwards.
6. Do not allow any separation or protrusion between the car sticker and the car body.
2. Installation method of large car stickers( Wet paste method): tool: Rag, sprinkler, scraper or credit card
1. Clean the car body and sprinkle water evenly on the body part to be pasted - to reduce the viscosity of the sticker and facilitate adjustment of the position.
2. Determine the location to be pasted. Slowly apply it while gently scraping it with a tool while peeling off the backing paper. 3. When encountering door handles or anti-scratch strips, cut and wrap the material according to the situation.
4. Make appropriate adjustments and confirm the general position of the graphics, then scrape off the water and air bubbles repeatedly and remove the transparent transfer film.
5. Use a utility knife to make a cut on the car door and seam, and wrap it inwards.
6. Do not allow any separation or protrusion between the car sticker and the body.
7. Try to let the moisture in the car sticker dry out as much as possible. If possible, you can heat and dry it appropriately. Depending on the weather conditions, wash the car after a day or two.
In order to reduce the installation difficulty for customers, the car stickers we provide have been covered with transfer film in advance.( Except for whole continuous graphics)
1. Do not wax a week before you decide to decorate your car. The wax will make the stickers not stick firmly.; Do not wash the car within three days after the car sticker is applied, and do not apply it on rainy days, otherwise the effect will not be good.!
2. If the sticker needs to be affixed to the door seam or other places that require movement, don't worry, just cut it with a sharp knife after affixing it.
3. If you really don’t want to do it yourself, please go to the local solar film application place to ask for help.


+'&media=https%3A%2F%2Fcbu01.alicdn.com%2Fimg%2Fibank%2FO1CN01ypqKzp1Rx6uk9xd5S_%21%212555492177-0-cib.jpg&description=New+car+DIY+personalized+feather+stickers+creative+3D+scratch+decorative+car+stickers+dropshipping'))